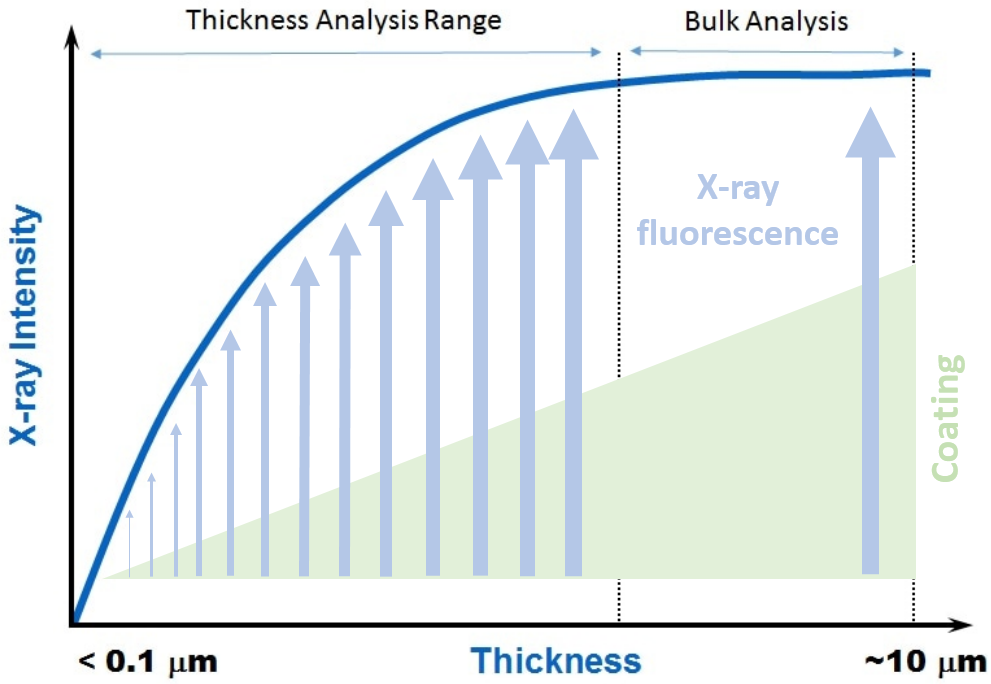
The thickness of metallic coatings is routinely determined by X-ray fluorescence spectrometry. This provides a basis for assessing the quality of coated materials and therefore influences decisions regarding disposition (acceptability) of the coated product as well as control of coating processes. Knowledge of the variability associated with these measurements of coating thickness is necessary for proper interpretation of test results. This variability is often estimated from repetitive measurements either on the same sample (yielding a good estimate of the inherent precision of the measurement technique) or on similar samples (in which case variation between samples is included in the uncertainty estimate).
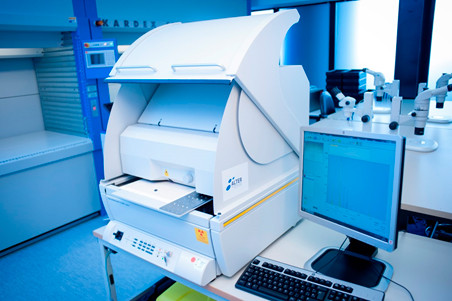
Non-destructive thickness determination by X-ray fluorescence

This method is simple, rapid and non-destructive. It allows excellent coating thickness analysis and characterization of multi-layer analysis across a wide range of industrial markets, including electronics, metal finishing, alloys and precious metals assay.
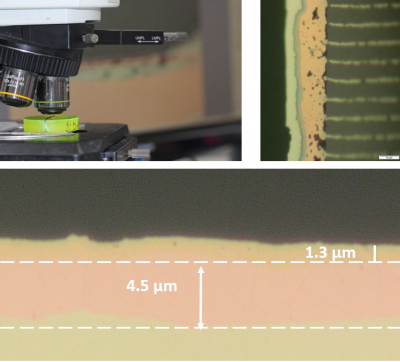
For an accurate and direct thickness verification, it is also possible to perform a cross sectioning followed by a metallographic microscope or SEM examination in accordance with MIL-STD-1580. The drawback of this last technique is that it constitutes a destructive method.

Destructive Metallographic thickness determination

